Making a hanging plant shelf is easy and only requires a few tools and will dramatically change your plant space. I found myself almost wanting to get rid of all of my houseplants. They were cluttered, neglected and took up way too much space.
I had an idea after seeing a few photos online, but they were not exactly what I wanted. I took my ideas to my husband, Dave, and he came up with a plan.
Materials you will need to make a hanging plant shelf
I encourage you to take an inventory of what you could use around your house before you buy new. We had some nice wood boards that I have been saving for a special project. Have I ever mentioned that I am a wood hoarder?
Here is a list of what you will need:
- Wood Shelves
- Cotton Rope (size depends on the height of your shelves)
- Brackets or hooks for the ceiling
- Polyurethane to seal the wood and make it water proof
Tools you will need:
- Drill and large drill bits
- Table saw if you need to cut your boards to length
- Paint Brush
- Level for straight shelves
- Stud Finder
HOw long will this project take
If you have all of your supplies and a warm room to let the shelves dry, you could get it all done in a day. We took 2 days as we were not in a hurry and I wanted to make sure the shelves had plenty of time to completely dry.
HOw to make your hanging shelves
The first thing you need to do is measure your space and decide how long you want your hanging plant shelves. Everyone’s space will differ. We decided that we wanted our shelves to reach 3/4 of the length of our sliding glass door in the back living room. We didn’t want it all the way across, because we still needed space to open the dog kennel.
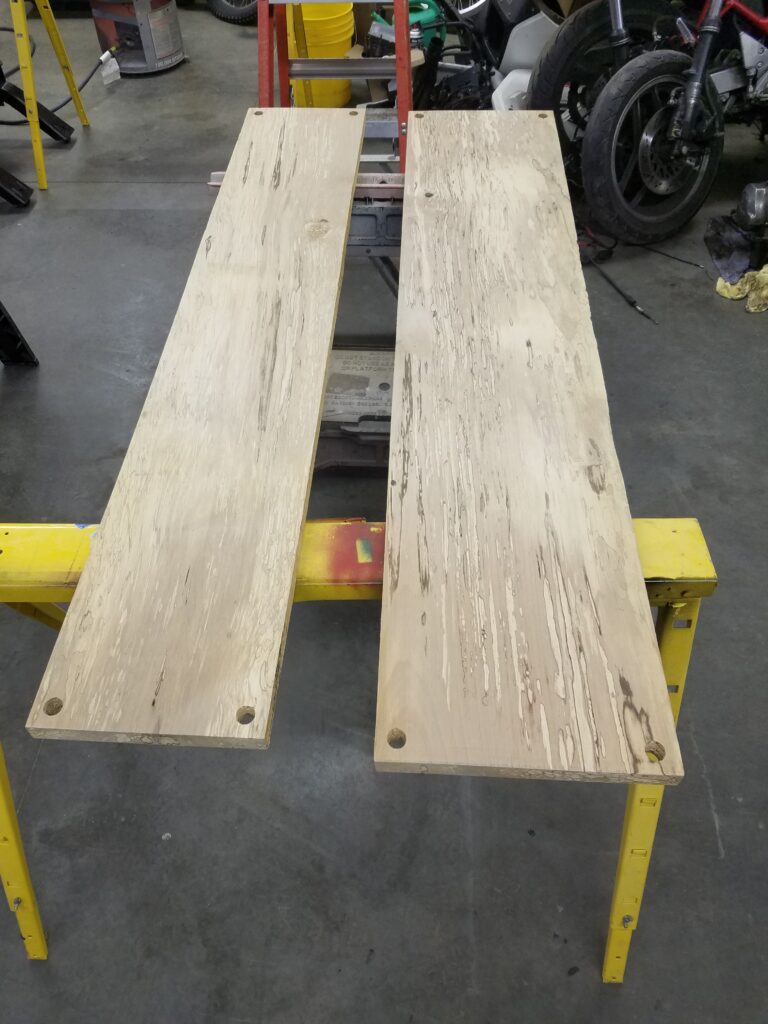
Once you have your measurements, it is time to measure out your wood shelves. Then cut your pieces to the desired length and width.
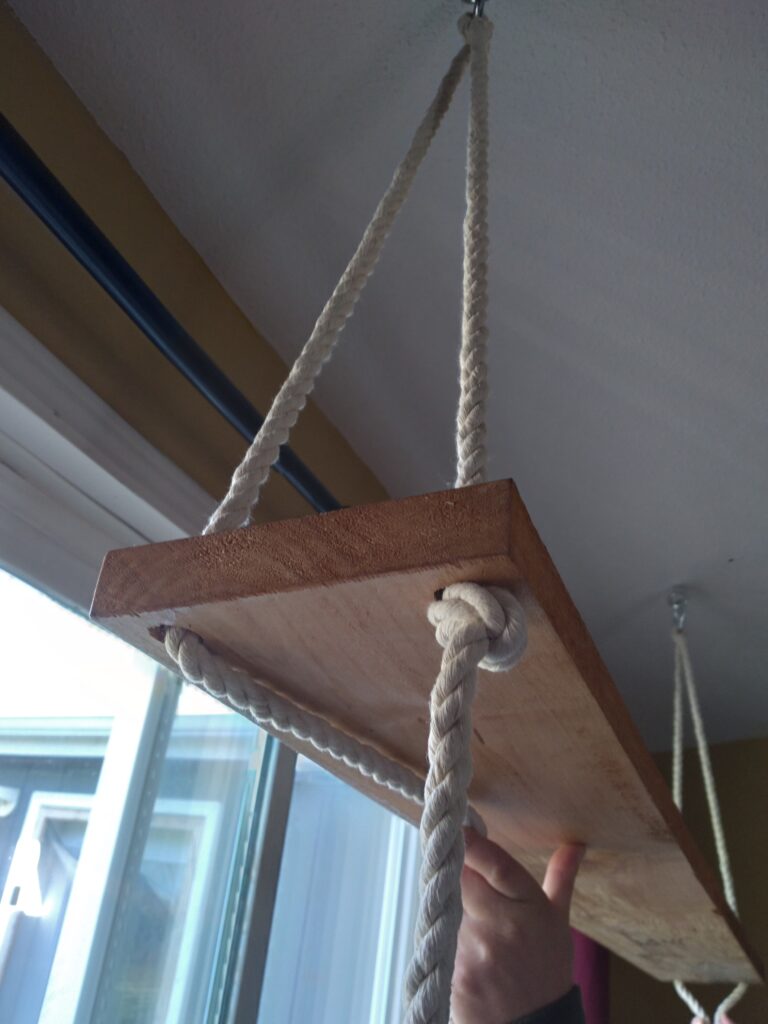
Next, drill two holes on each side of your shelves. Make sure they are big enough to push your cotton rope through.
Appling the polyurethane
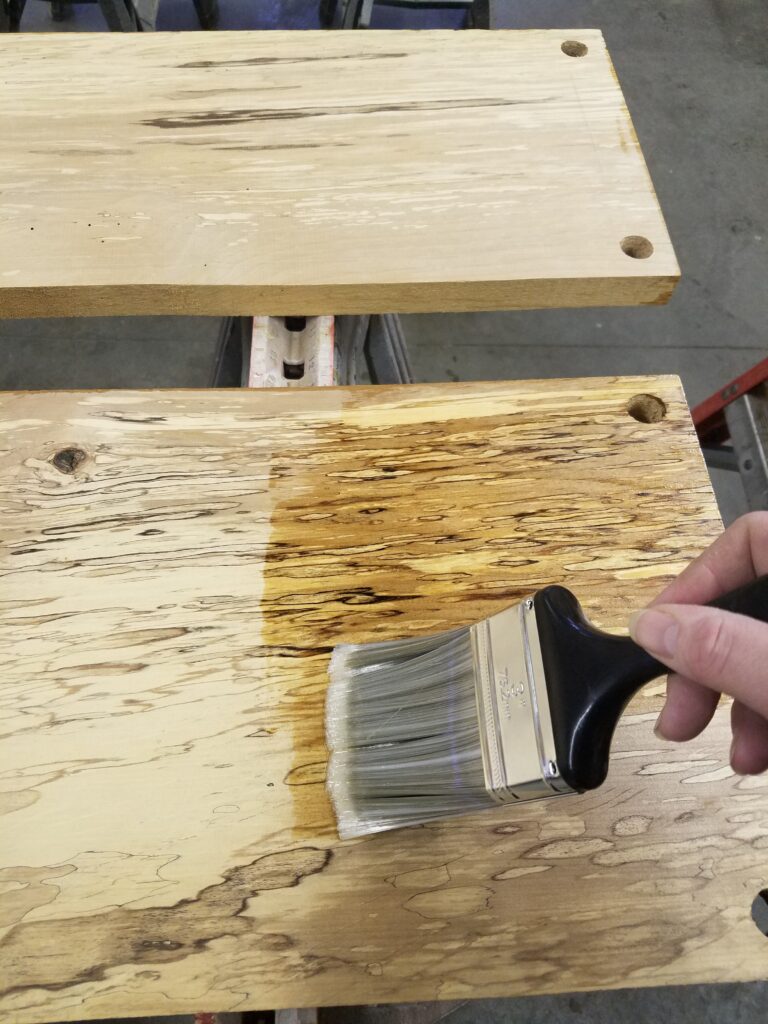
After you have cut your shelves to the desired length and drilled your holes, it is time to apply the Polyurethane.
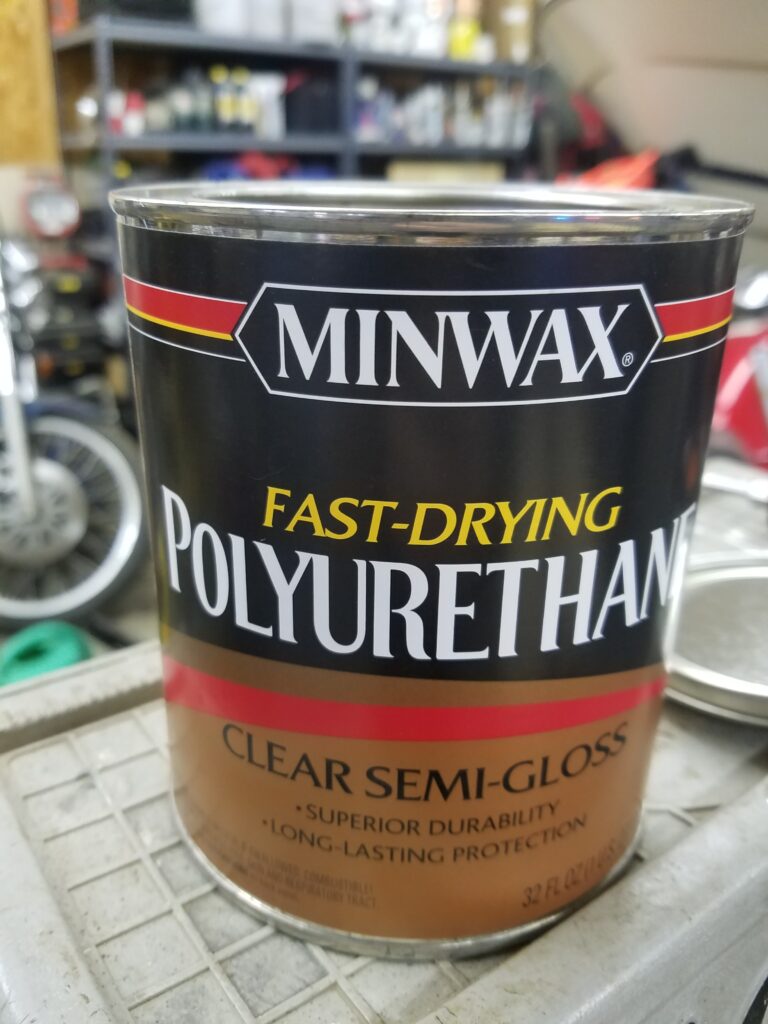
Set up your sawhorses and place your boards on top. Put a generous amount of Poly and seal your wood. Make sure to get all of the edges. After the first coat is dry, inspect your boards and decide if you need to add a second coat. You want it to be sealed and protected from water. Give it time to dry throughly.
its time to assemble your hanging Plant shelf
You have a few options on hanging your shelves. We went with circle hooks with a large 2 inch circle, bit enough to tie and thread our rope through. You can also use large hooks that do not form a complete circle. If you have a stud finder, use it to find the studs in the ceiling. You want your hooks place in the studs to give it the much needed support. If you do not screw your hooks directly into the studs, you risk your shelves falling down.
Once your hooks are in place, you are ready to hang your cotton rope. We used about 30ft of cotton rope, purchased at Hobby Lobby. The length you need is determined by the height of your total shelves and how far down you want it to hang.
After you determine how low you want your shelves to hang and how much rope you need, it is time to cute your rope. Making sure to leave extra for tying the knots.
After your rope is cut, take your rope and drape it through your hook that is in the ceiling. Make sure both sides are even.
Constructing your hanging plant shelf
Take your top shelf and pull the rope through and make a knot where you want your shelf to hang. Continue making a knot under the spot where you want the shelf to hang. As you tie the knots, make sure the shelf is sitting straight. A small Level is a good tool to use to make sure it is in fact straight.
After your first shelf is hung up and straight, continue hanging the remainder of your shelves at your desired lengths.
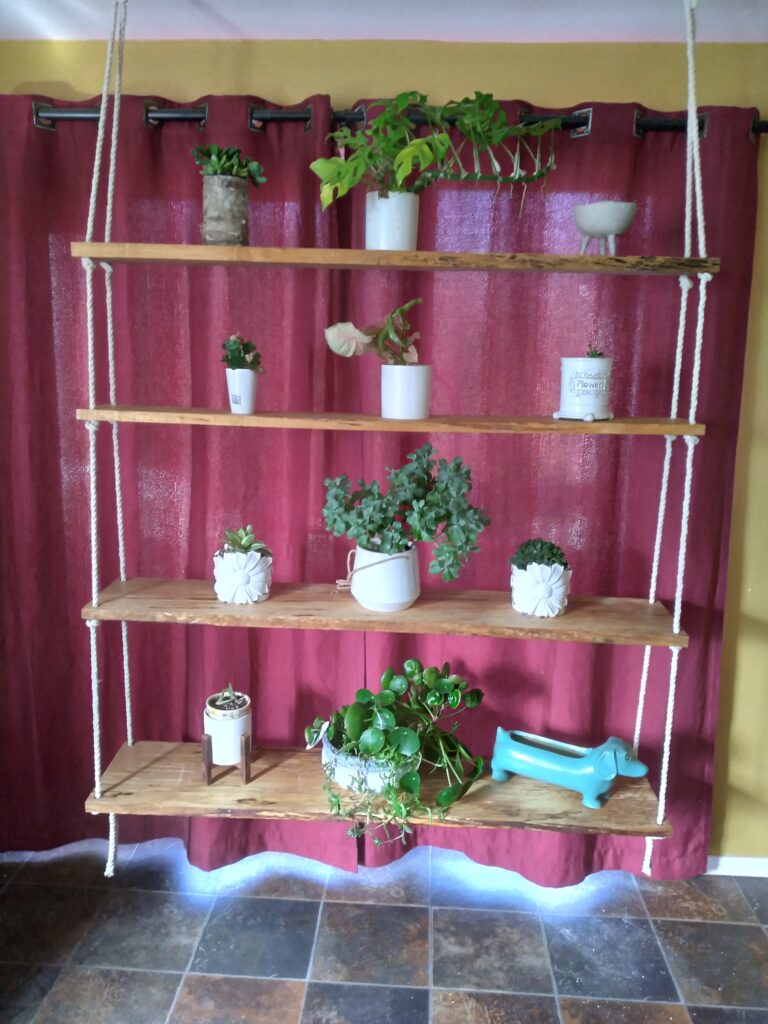
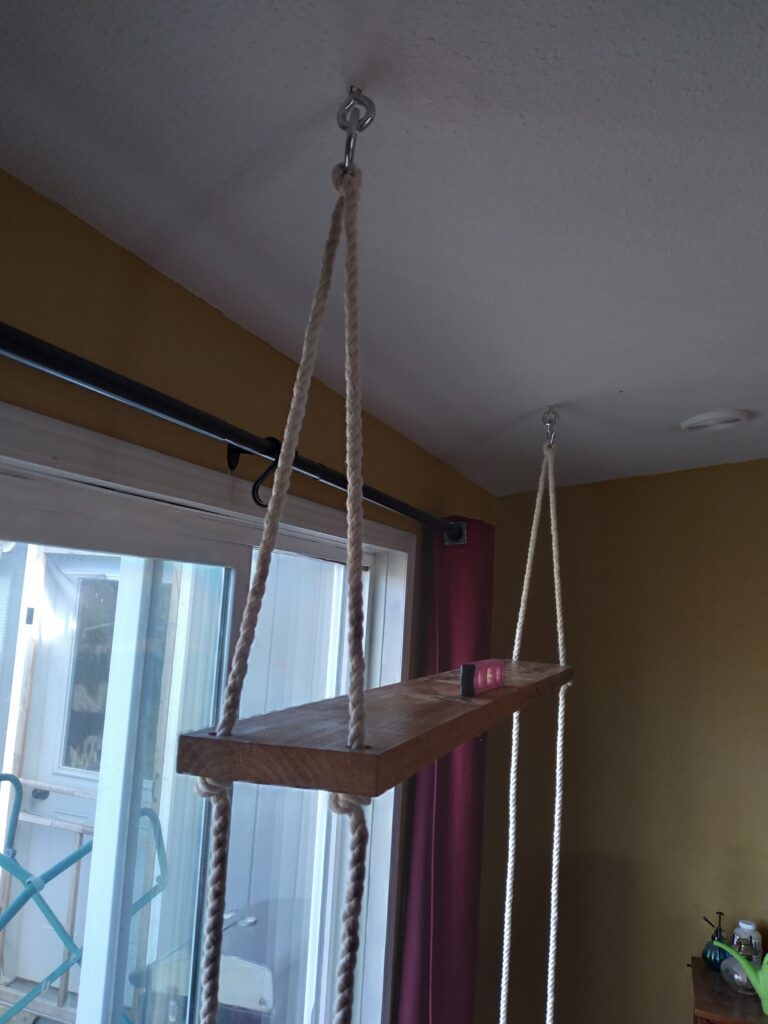
Finished product
Your shelves are now complete, it is time to fill up your new hanging plant shelf with all of your houseplants.
We decided to make our shelves hang from the ceiling , a foot away from the wall instead of hanging off of the wall. Our reasoning and maybe something you might consider, is the sunlight in the summer. This particular window faces southwest and gets extremely hot in the summer. We need to still be able to close our blackout curtains during those hot days and will also be able to protect the plants from the scorching sun when needed.
This was one of our April Goals, to read more about our monthly goals and why they are important, click HERE.
Leave a Reply