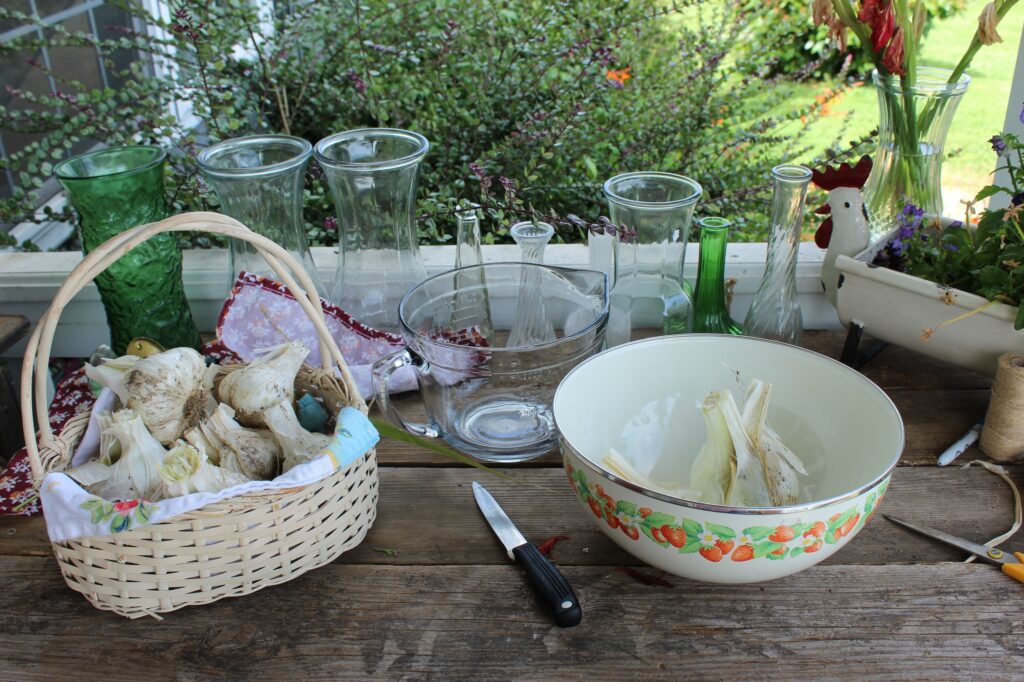
Growing and preserving your own garlic and garlic powder is easier that you would think. It just takes a bit of time and patience. We plant our garlic in the fall, the end of October to be exact. We have grown our own garlic for the last 3 years. Click here to find out how we plant our garlic and where we buy our garlic cloves.
Three years ago, I had ran out of garlic and ran to our little grocery store out here in the county. All of garlic I found was grown in China! After discovering that, we have been on a journey to only purchase food from the USA. It is even better if I am able to source our food locally or grown in our own state. I decided to see if I could find some garlic powders from the USA and it shouldn’t have been a surprise that it was from China.
I made a promise to myself that from that year forward, we would be growing and processing our own garlic.
We harvest our garlic mid to late summer in Northwest Washington state. In the fall, once harvest season is over and the gardens are cleaned out is when I am able to process the cloves into powder.
Tools you will need
- Large Bowl and Cutting Board
- Sharp Knife
- Dehydrator
- Food Processer
- Cute Jar and Labels for Storage
- Garlic Cloves
HOw to make garlic powder
Step one
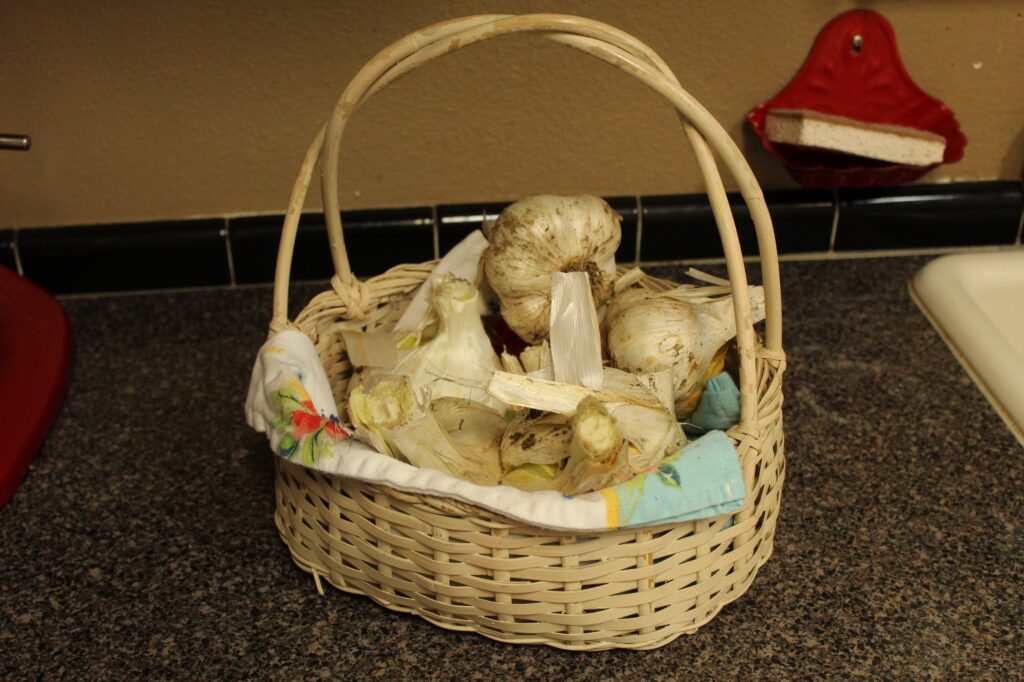
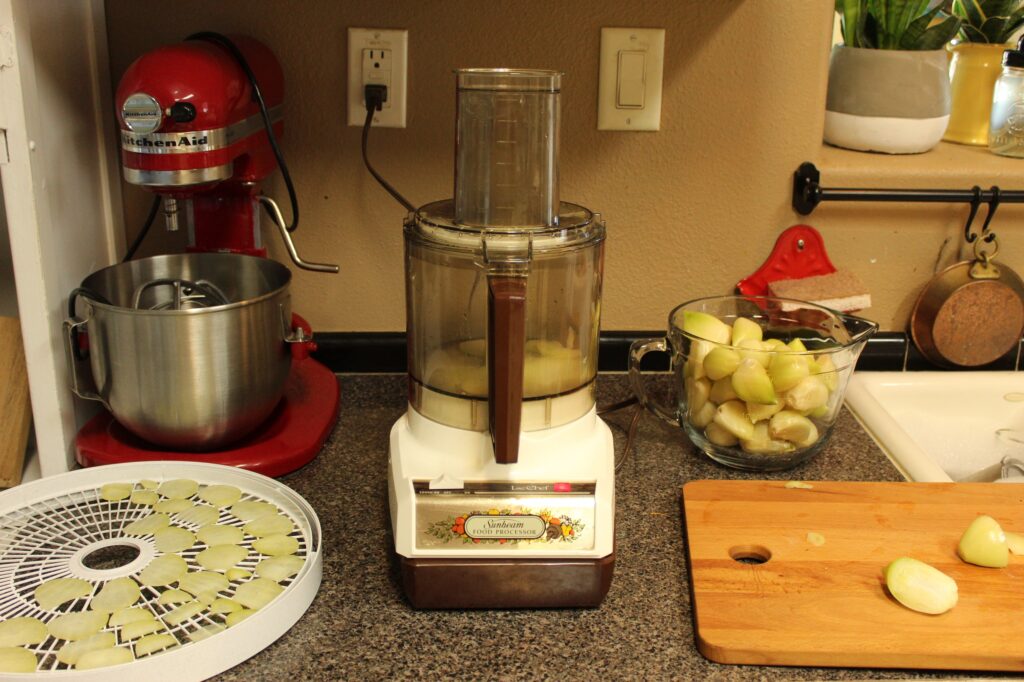
The first thing I do is peel the thin, white papery coating off of each bulb. After you have cleaned each clove, you want to make sure each clove is thinly sliced. You want to keep each slice about the same thickness. This is very important as it will affect your drying times. This is where the food processor comes in handy. I use the vegetable slicer on my machine to make all my slices the same thickness. You will find that it is a useful tool if you are processing a lot of garlic.
I recommend you slice up more garlic cloves that you would expect to use. I have found that the Elephant garlic makes a great powder and is a lot less work. Once you have all of your cloves sliced, spread them thinly on your dehydrator trays, but make sure they do not overlap each other. If they are placed on top of each other, the thin slices will not dry correctly.
Step two
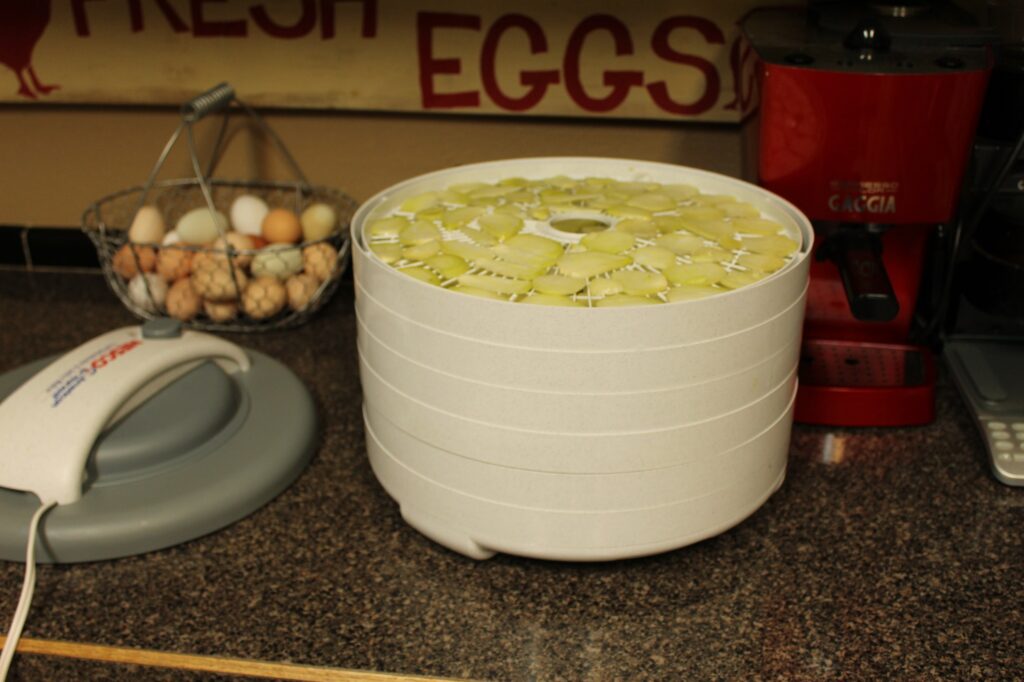
After you have placed all of your slices on your dehydrator trays, it is time to plug in your dehydrator and stack your trays on top of each other. Set your dehydrator to 125 F or 52 C for up to 12 hours. I recommend checking on your garlic every couple of hours to make sure there is no problem and it is drying correctly. Once your garlic is crispy, it is time to move to Step Three.
Recommendation: If you have a shop or garage, I would recommend placing your dehydrator and garlic out there to dry. While the garlic dries, it does smell up the room it is in. I have gone to work a few times smelling like garlic.
Step three
Once your slices are completely dry, it is time to grind it up into a powder. I add a fair amount to my food processor and grind it up into the powder consistency that you would like. I continue this process until all of my slices are in a powder form. Pour your powder into the storage jar of your choice and make sure to label it. Store in either a pantry or a dark cupboard and it should last up to a year.
I find that home grown/handmade garlic powder has a more potent flavor that the garlic powders you will find in the grocery store. So, use sparingly at first until you figure out your desired flavor.
With a little planning and prep, you can have delicious garlic powder to add to your spice cabinet. You will not have to worry about where it was grown or how it was handled. Preserving garlic is simple, but does take a bit of time.
Have you tried making your own powders before? Please let me know in the comments section below.
Leave a Reply