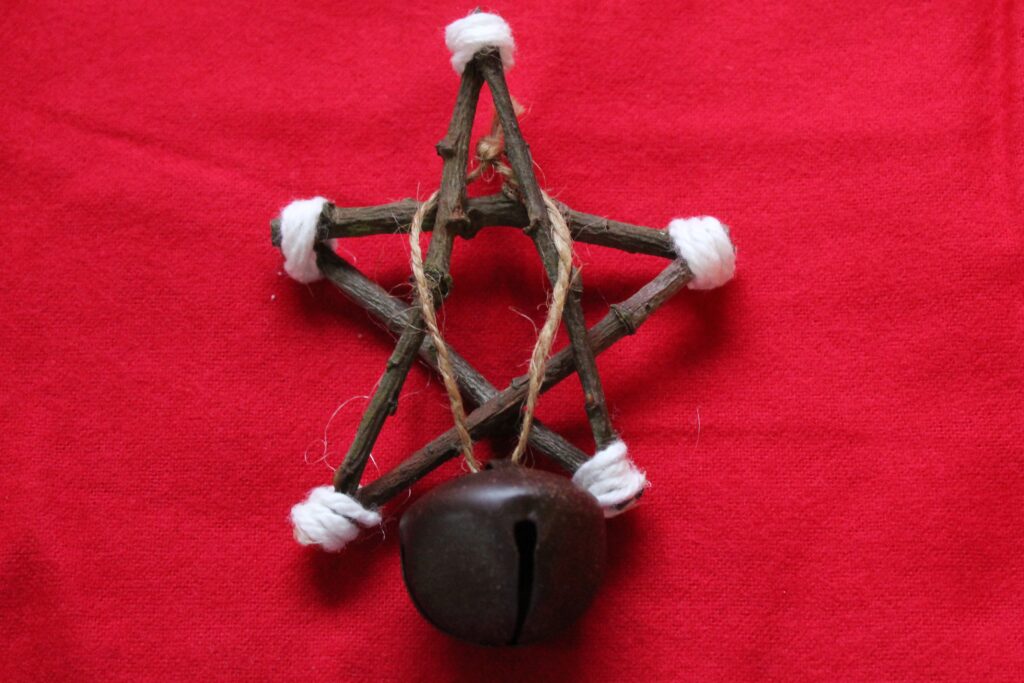
On our homestead, I find myself decorating for Christmas with more simple and handmade items. This year I decided to make Twig Star Ornaments to add to our tree. Last year I crocheted little white stars ornaments, I will link the tutorial where I learned how to make them HERE.
What is the process of making the twig star ornaments?
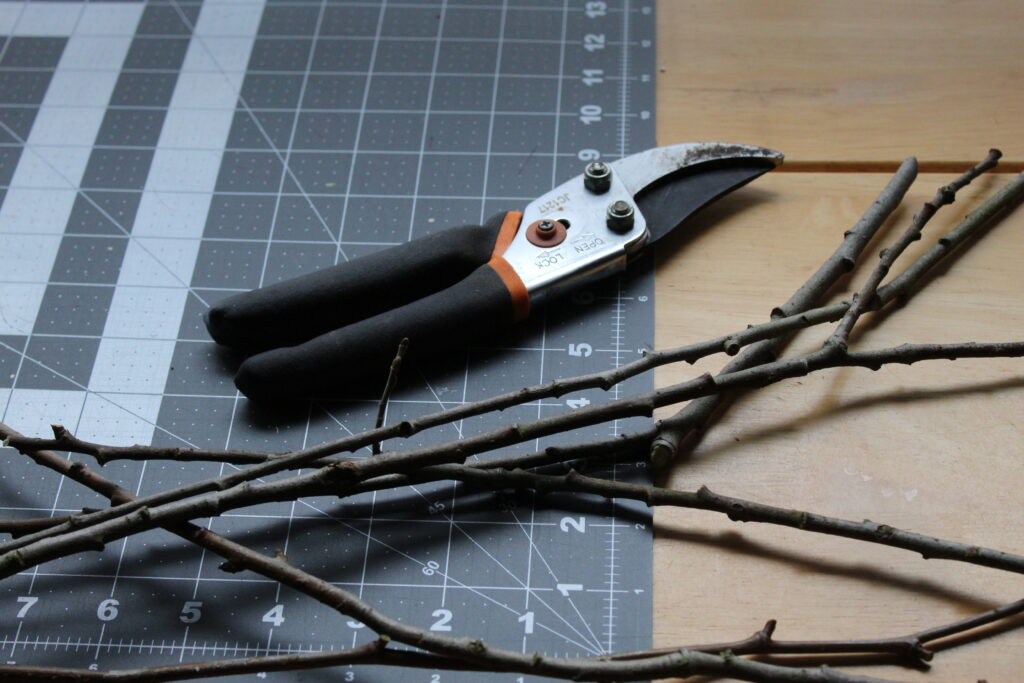
The first thing you want to do is gather all of your supplies. You will need a sharp pair of pruning shears, a glue gun, scissors, neutral colored yarn or twine and some bells or other little trinkets you would like to add to the middle of the star.
Finding your twig materials
It is time to find your twigs. I am able to walk out towards the hen house and clip branches off of the trees we have on the property. You might have to ask a friend if you can come glean some branches from them or even go for a drive in the mountains.
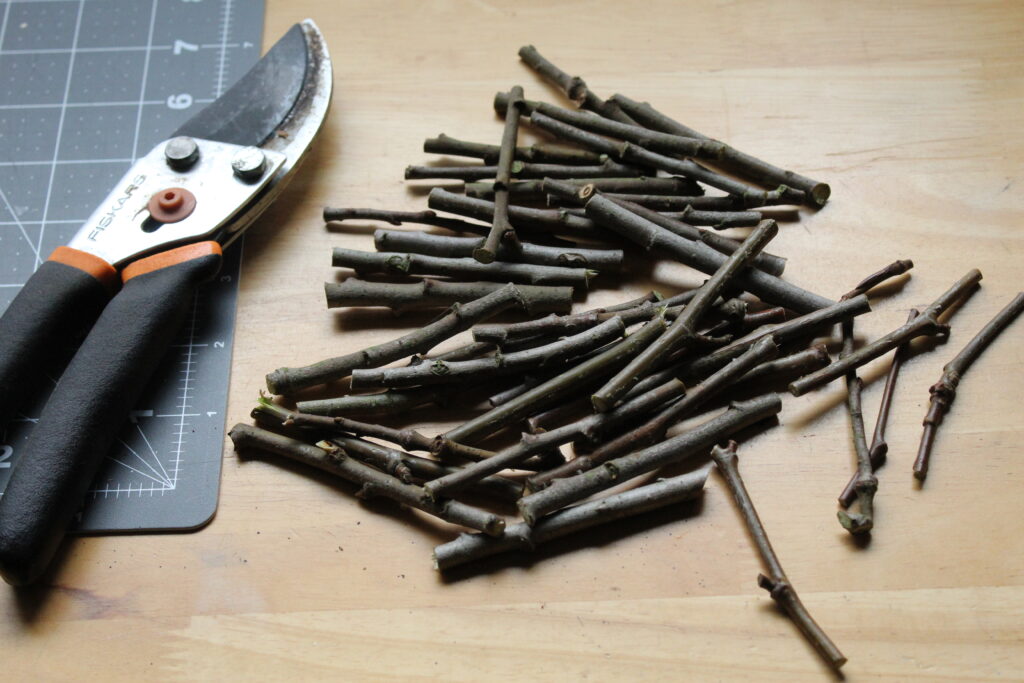
Think about how large you want your stars to be. I decided that I wanted my stars to be 3 inches in diameter. Also, think about how many stars you want to make. Each Twig Star Ornament requires 5 twigs total.
Take the time and cut out each twig so they are all the same size. I cut all of mine a total of 3 inches each.
How do you place the twigs togeter to form the star?
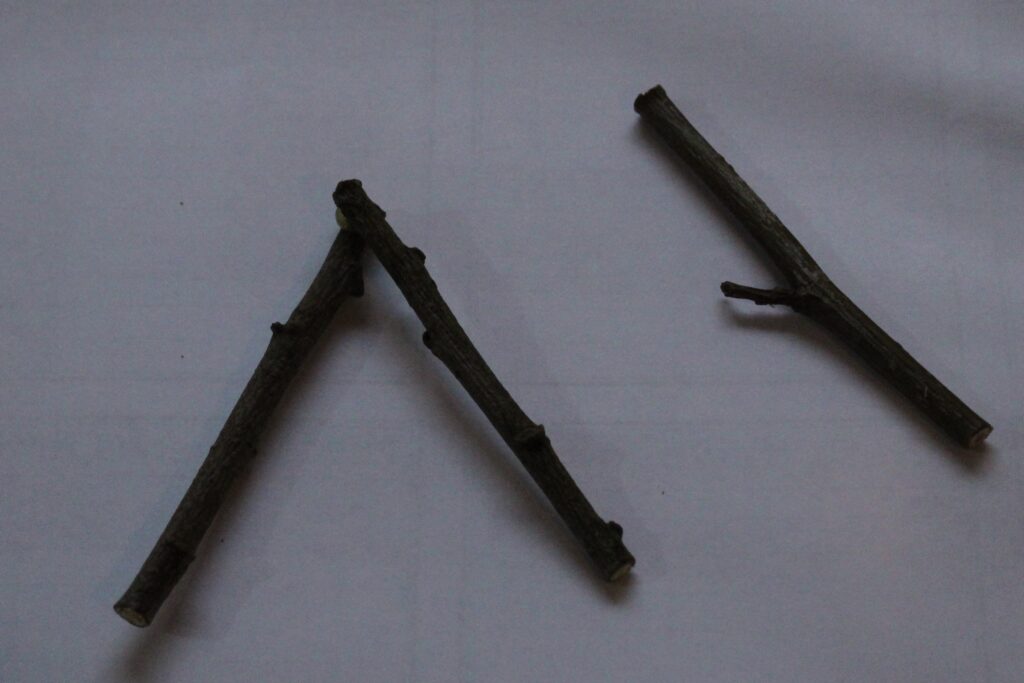
Heat up your glue gun. Take 2 twigs and place them together as if you are making an upside down V.
Take another twig and glue it to the right of the upside down V. Glue another to the to twig to the tip of the one you had just glued down.
You are slowly constructing the star with each twig you place and glue down. Once you get to twig 5 and glue it down your star is complete.
Dressing up your twig star ornament
If you like the rustic basic twig look, add a small hoop at the top with either yarn or twine and your star is complete. If you feel that it needs to be dressed up a bit, I recommend using yarn or twine and wrap the ends to add a bit of color. I also added a brown bell that I had bought one year and felt it fit perfectly in the middle of the star.
How to add yarn or twine to the ends of the star
I added yarn to each of the points on the star. I took my glue gun and put a small dot of hot glue and pressed it on the back of the first point of the star. Wrap your yarn around the tip 3 to 4 times. You decide how thick you want your yarn.
Once you get to your desired thickness, make sure you leave enough yarn to attach to the back of the point. Place a small dot of hot glue to the end of the yarn and press it against the back of the star point. Do this on every point of the star to make it look more uniform.
The last thing I added to our Twig Star Ornament is the brown bells. The bells I had purchased have a loop on the end and I just draped it over the top of the star. I didn’t attach it to the star permanently, so I can remove it at any time.
The last step
Add a loop to the top of the star with your yarn or twine, so you can hang it on your tree. Your project is now complete. These are totally customizable and you can let your imagination run wild and see what you can come up with.
For more reading Pleasure
To read more about how we are practicing Simple Living and why click HERE. After all, I consider making our own Christmas tree ornaments all part of our search of a more Simple Life.


Leave a Reply